Vehicles Color Correction
Hello there, this is "Carpics Editing.com" remain close to on you on the off chance that you are an auto vendor or merchant of vehicles. Once in a while, you wish to change over your auto shading for a pitch to your customers. Indeed, even some customer's need to legitimize which shading is exceptionally decision full and what it looks like!
There is no stressed over how it makes. "Carpics Editing" constantly prepared to serve you the auto, vehicles, car shading adjustment in snappy time with master hand and experienced picture editorial manager. Simply send your caught picture to us then we think about your offer and eye appealing picture with the proficient look.
There are various ways to deal with change shading in Photoshop. You could use the Color Replacement instrument (arranged under the Brush Tool) or you could use the menu thing Color Replace. Regardless, none of those would give me the versatility I required for this assignment. I couldn't just pick tints heedlessly paying little mind to whether he said: "I require a yellow shading". With auto tints, we required a level out that the paint shop mixing the paint would know decisively the shading we required. In perspective of this, I anticipated that would test honest to goodness auto tints available and duplicate them. There was only a solitary way I knew to do that, and this is the method we'll be investigating in the instructional exercise.
The case here relates to a car, anyway, a comparable system can be used on various applications, Change the shade of a client's dress, change the paint shade of a house before you paint it. Essentially anything you can consider.
Stage 1
The principal methods we will use as a piece of Photoshop may be: Layers, Layer Masks, Layer Blend Modes and Layer Opacity and Fill. In case you aren't familiar with using layers and layer cloak in Photoshop, it is one thing you should get to know. Here are two pieces of information in any case that are vital with Layer Masks: Remember that "Dull Reveals" (the layer underneath) and "White Conceals". Also, review your X key on the comfort. That is a comfort substitute approach to switch between your closer view and establishment shading swatches. (Which should be set to Black and White)
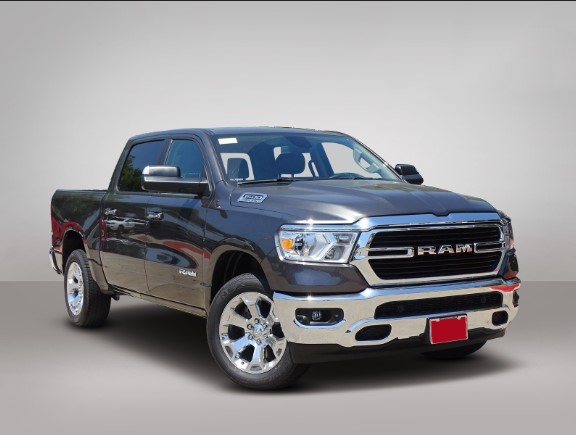
Open your subject picture you have to change the shading on
The main thing I need to make is a Layer shroud; this grants only the parts of the photo I require the new shading associated with being described. (Likewise, yes there are a million and one diverse approaches to impact a layer to the shroud and if you have a prevalent way, use it.) I like the paint on hand system for this)
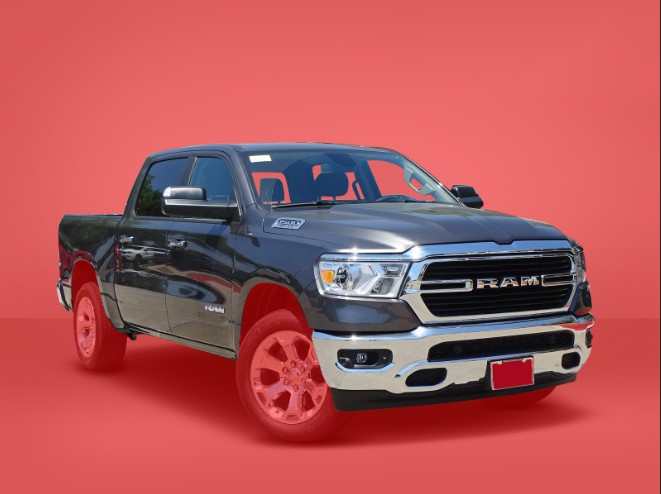
I will start by including another Color Fill layer, which I can do from the menu bar at Layer > New Fill Layer > Solid Color or by tapping the Black/White Cookie picture on the Layers Palette. Presently it doesn't have any kind of effect what shading - special case that shows up diversely in connection to your subject so you can see where you have to keep the lines. Clearly, this is a noteworthy solid shading over your photo - so in what manner may you see where you have to paint out? Make a beeline for your layer palette and lessen the dimness to around half. This will empower you to see your subject underneath.

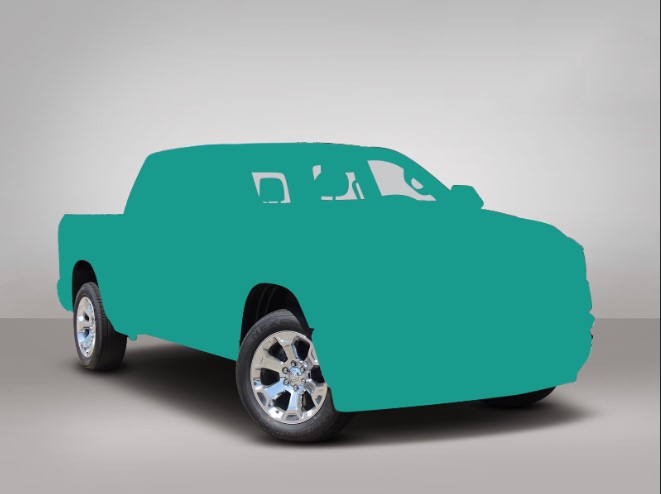
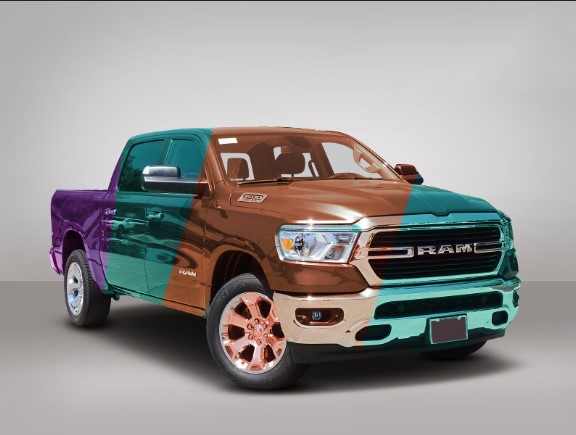
Grab a broad dull sensitive edge brush and take away the critical regions you needn't bother with the new shading associated with, by then intelligently use tinier brushes and harder tips till you get as right a cloak as you can. Hitting your X Key and trading forward and in reverse, among Black and White to alter any zone, you may have gone over a line. Remember that the achievement of this will depend upon how awesome an occupation you do of covering the photo. Much the same as if you were painting an auto, you have to cover off the chrome and not paint it.
When you are done, your cover will look something like this (I covered the establishment layer)
Stage 2
By and by the time has come to apply to shade to the photo, so come back to your layers palette and take the indefinite quality back to 100%
I appreciate what you're thinking about: "that looks loathsome, it's just a solid shading!" You're absolutely right, yet we'll change this in the accompanying stage. Come back to your layer palette and this chance to the layer blend mode and drop down the once-over. Various modes will work better depending upon what base shading auto you have, yet for this representation, we will endeavor "Shading Burn".
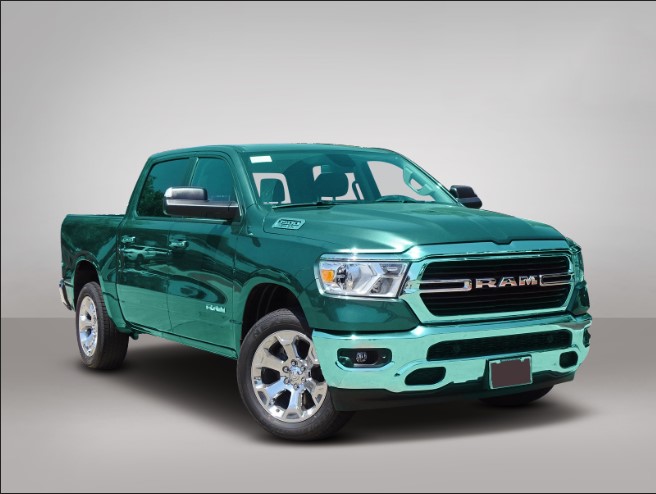
There's a speedy, clear change. All the detail, reflections and shadows have come back to the photo.
Stage 3
Directly I have to make it the shading I expect it to be. So I will open up the photo of the auto shading I have to copy, for this circumstance Corvette Atomic Orange and have that photo open close by of this one.
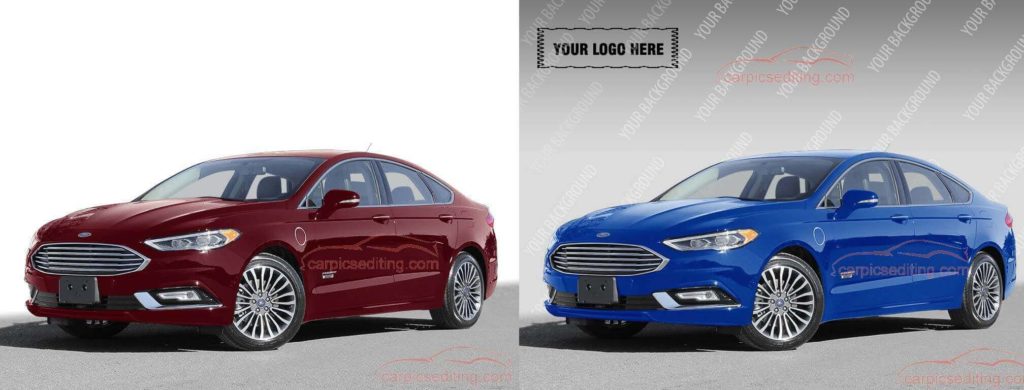
By and by, with the Volkswagen shot dynamic, on the layer palette tap on the shading swatch. This will raise the shading palette yet will in like manner make a shading picker eyedropper available. Move that Eyedropper over to the Corvette and start looking at zones of the Corvette, You should endeavor two or three different zones in light of the fact that as we likely am mindful there isn't one shading anyway extremely various shades of shading in a challenge. Keep picking until the point that the moment that you find one area that impacts the Volkswagen to look like the Corvette in shading.
Note: You don't have to test shading, in case you are not endeavoring to organize shading you can basically open the shading palette and pick any shading you require
Besides, there you have it: our officially grayish Volkswagen is right now readily painted in "Corvette Atomic Orange"!
Save your photo as a PSD or TIFF and ensure the layers so later on you can return and change the shading easily. We ended up with around 8 different shading designs. He required a Monotone paint plot so the watchmen, tokens, and wheels are generally comparable shading. In any case, more on this later.
Learn more: Vehicles Color Correction Service
Learn more: Vehicles Color Correction Service